
Clone yourself
Cloning yourself turns your own photos and recorded voice into a reusable avatar. Unlike an AI character, a clone always represents one real person, and only that person, who has confirmed the likeness is theirs.
This only works in your personal context. If you're inside a workspace when you open the clone builder, you'll see a message asking you to switch to your personal account from the avatar menu in the top right first.
Start at ugc.devghouse.com/app/clones. Every clone you've saved is listed here, with a New clone button to start another:
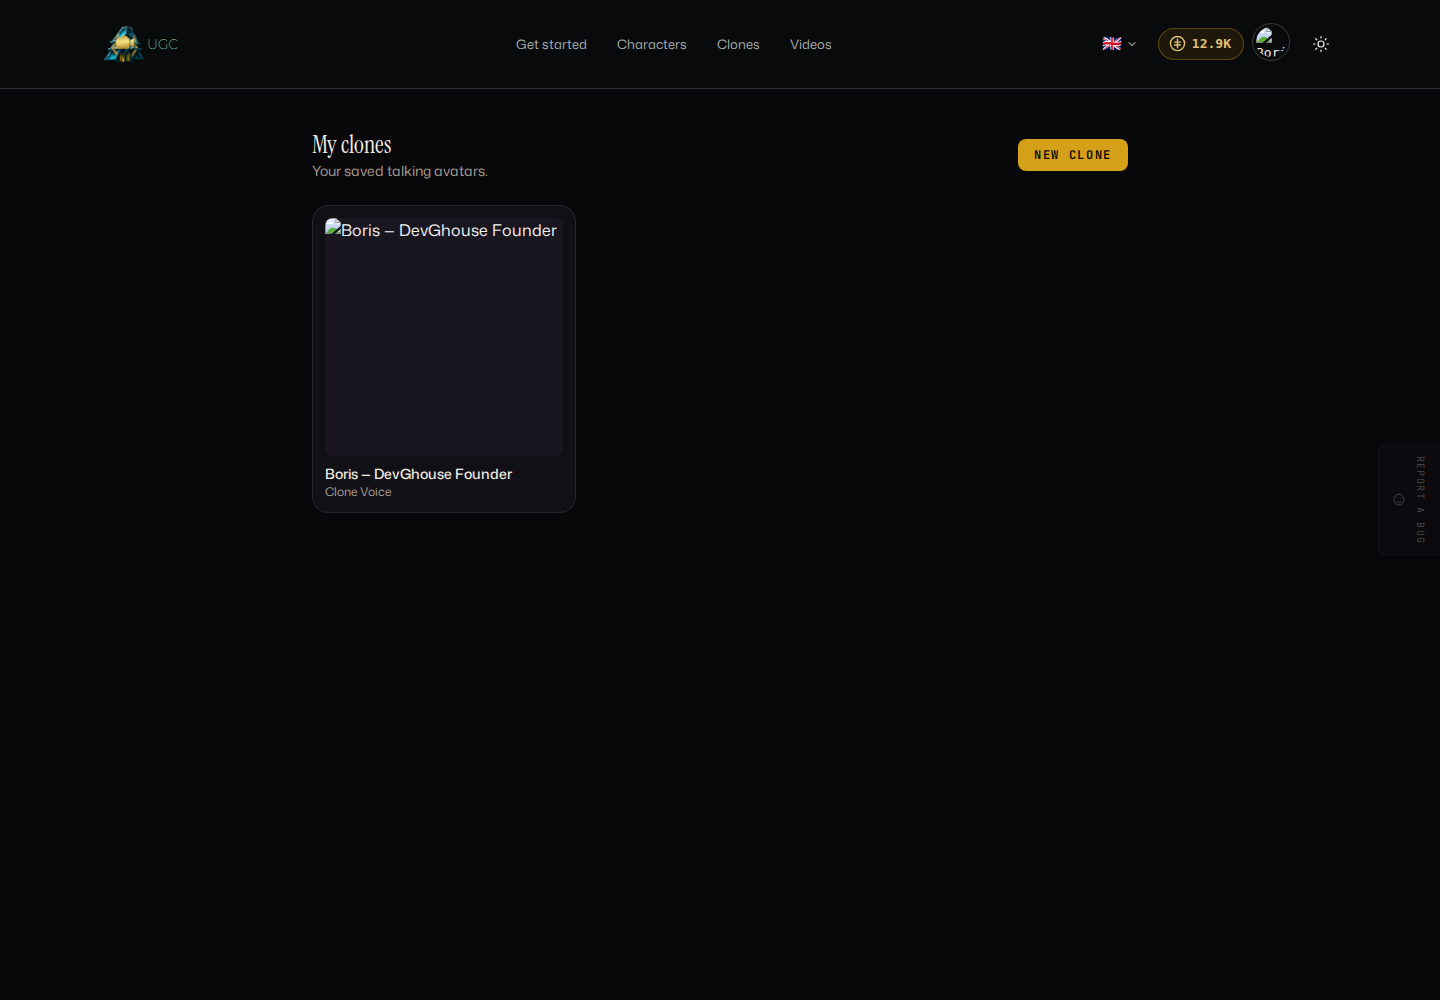
Select Clone yourself or New clone to begin.
1. Consent and your photos
- Check This is me. I have the rights to this face and voice and consent to creating a clone of myself.
- Check These photos are of ME. I am not cloning another person.
- Upload up to 8 clear photos of yourself. One photo makes a working avatar; several angles make a stronger clone.
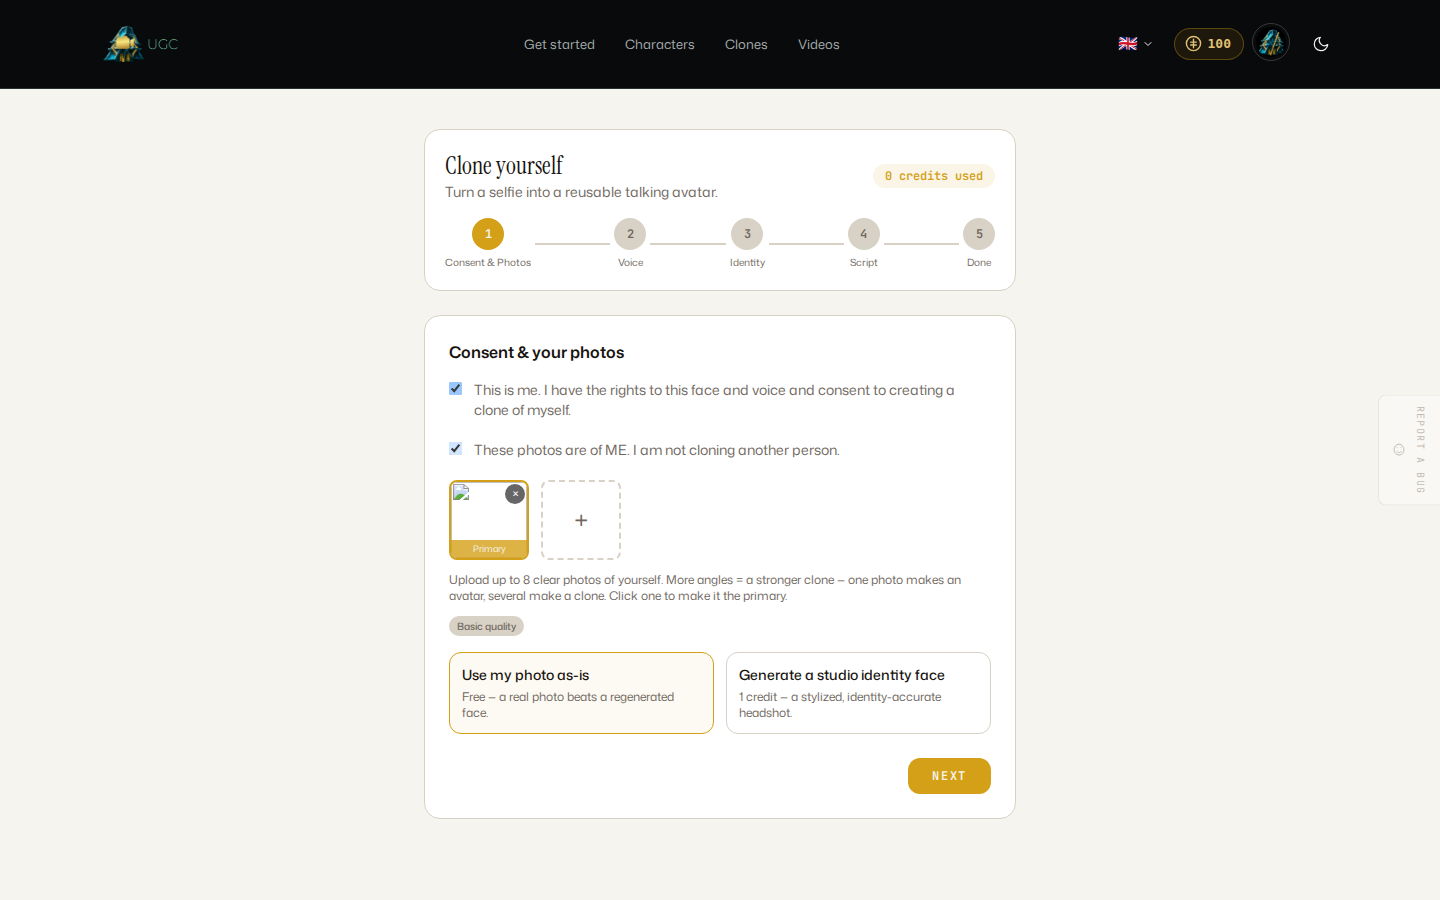
- Click any uploaded photo to make it the primary one.
- Choose how your identity face is built: Use my photo as-is (free: a real photo beats a regenerated face), or Generate a studio identity face (a stylized, identity-accurate headshot, small credit cost).
- Select Next.
2. Record your voice
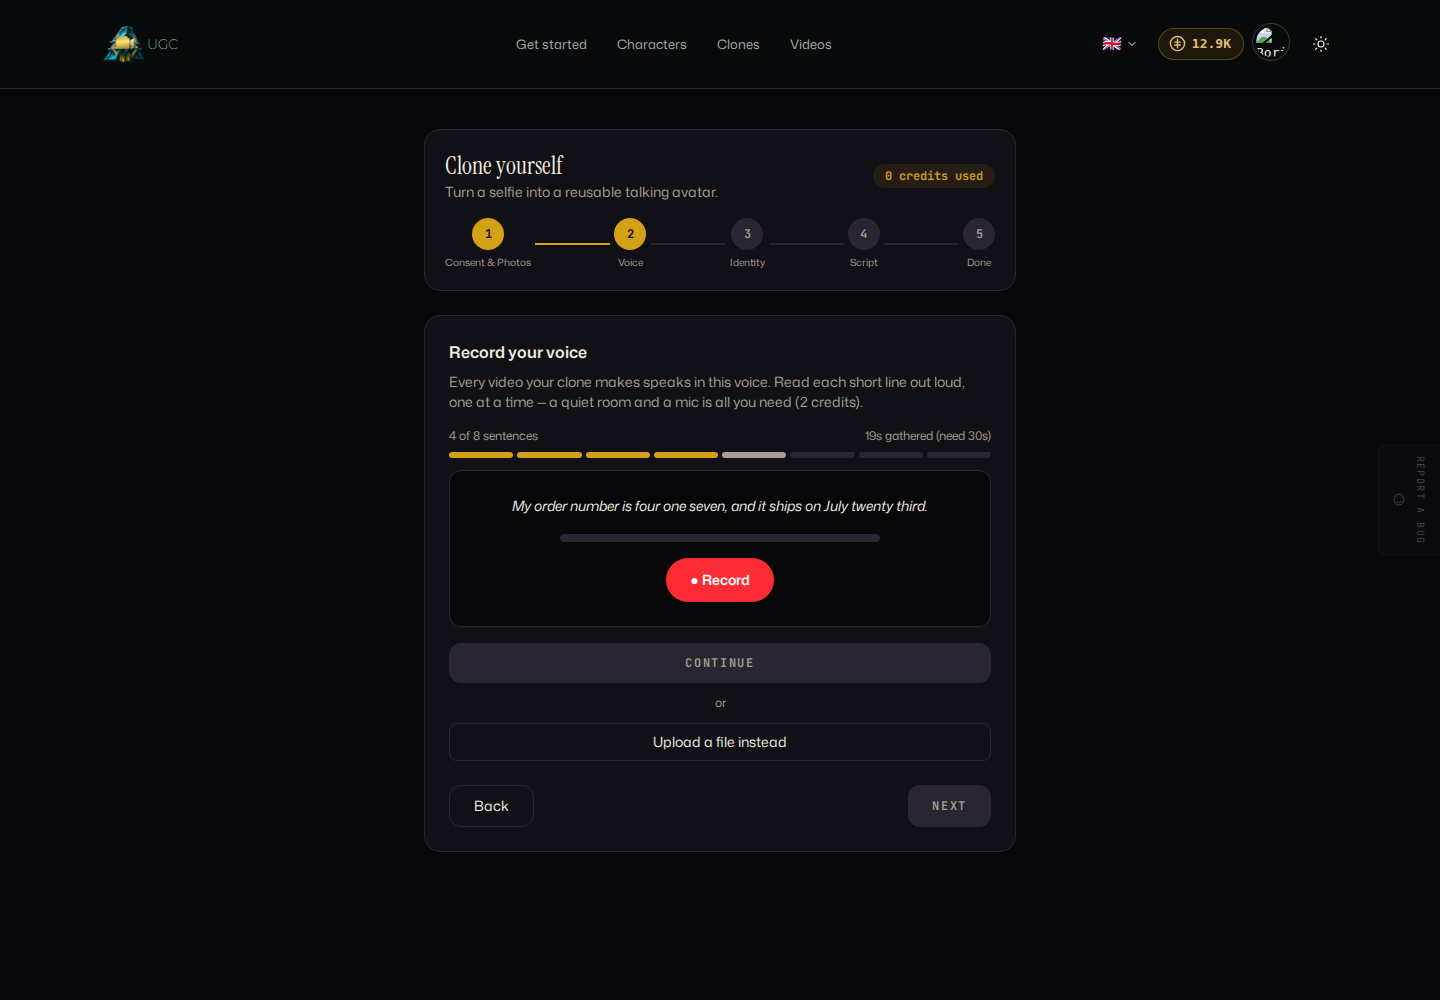
Every video your clone makes speaks in this voice, so it's worth getting a clean sample.
- Read each short sentence out loud when prompted, in a quiet room. A progress bar tracks how many sentences and how many seconds you've gathered; you need at least 30 seconds total.
- Select Record, speak the line, then Stop. Use Re-record if you want another take.
- Once you've gathered enough audio, select Continue.
- Prefer not to record live? Select Upload a file instead and choose an audio file.
- Select Next once your sample is ready.
3. Identity face
Give your clone a name (required) and, optionally, a short description and a persona: a few words on how it should speak, which later grounds its chat replies. Select Generate my clone. This is the step that actually creates your clone: it builds the identity face (if you chose that option) and saves everything together.
4. Script and your first video
Once your clone is created, write a line for it to say and choose how the video is made:
- Talk speaks your script in your real voice, lip-synced onto a short clip. Choose Standard or Pro quality; length always follows how long the speech actually takes to say, not a fixed duration.
- Motion makes a silent, cinematic clip on your chosen video model, with a duration you set (3 to 15 seconds).
The estimated cost updates as you change these choices. Select Generate video to create your first clip, then Continue to finish.
Managing a saved clone
Open any clone from ugc.devghouse.com/app/clones to reach its own page, which mirrors what a saved character offers.
Identity photos
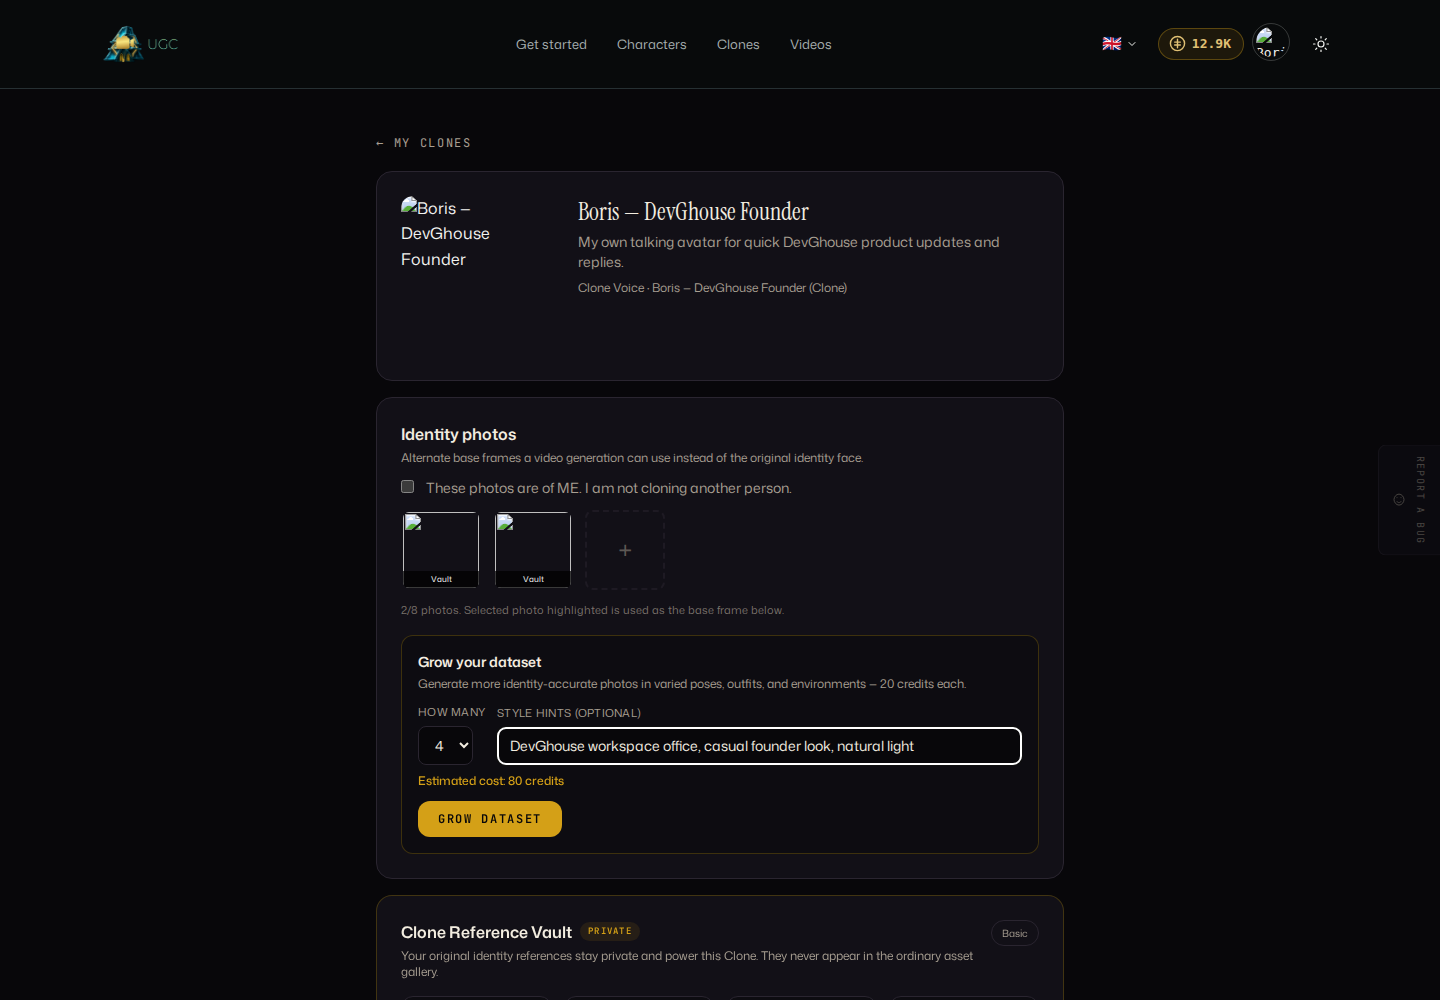
Add more real photos (up to 8) as alternate base frames, or use Grow your dataset to generate AI variations alongside your original selfie. Each photo you add is charged as its own dataset image; the app always shows the cost first.
Persona
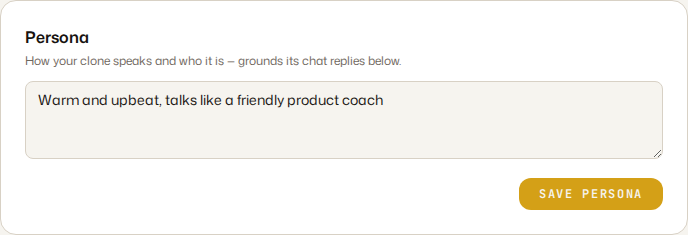
Edit how your clone speaks. This grounds its chat replies, so update it any time you want a different tone.
Talk to your clone
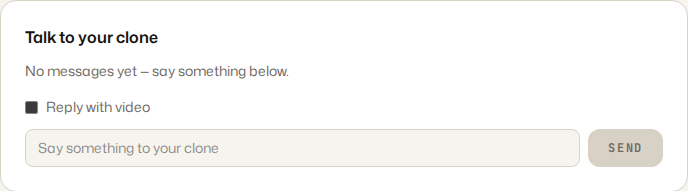
Send it a message and get a reply in its voice. Check Reply with video first if you want the reply as a short talking clip instead of just text.
Create a video
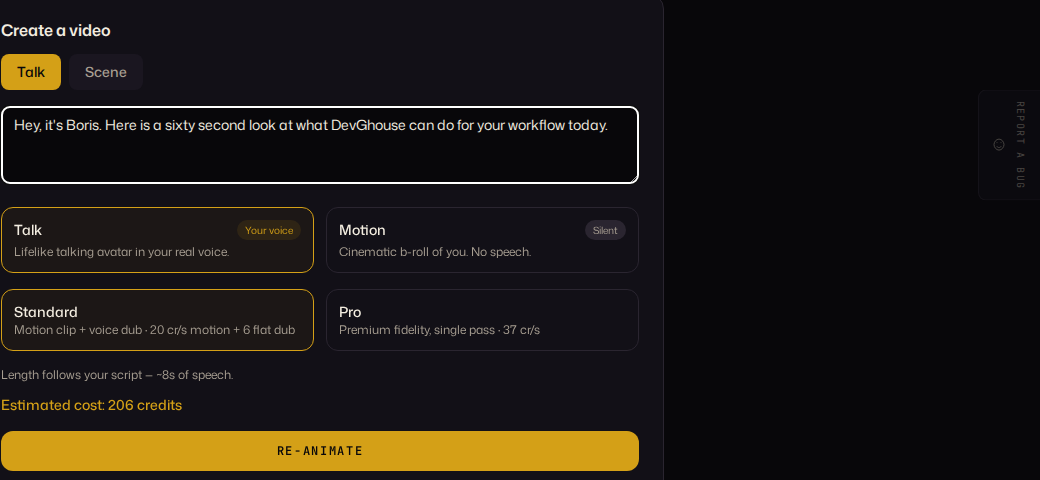
The Talk tab re-animates a new script in your real voice; the Scene tab (next to it) builds an original scene from up to 4 reference photos, with optional dialogue. Choose Standard or Pro quality, check the estimated cost, then generate.
Archive
Every scene still your clone has ever generated, reusable for a new video with no new still charge, the same way a character's archive works.
Continue to UGC videos to see how a saved character's stills turn into a finished multi-shot video, or Credits and billing for how costs are calculated.